

Graduated density means the hair starts more sparsely at the visible front and builds towards the fuller body. It softens an abrupt line of coverage without making the entire system light. For a brushed-back style, that transition is often more important than choosing a high overall percentage. The width, root direction and temple blend should be planned together; there is no single graduation pattern that suits every wearer.
Describe the front transition clearly
Draw a front band and show which end starts lightly and where body coverage should begin. For example, a buyer might request a gradual transition over the first 10 mm, subject to the factory's assessment. That dimension is an illustrative instruction, not a standard recommendation. A close-up of the accepted sample tells the technician more than the words natural hairline alone.
Identify its width and starting point
Evaluate the first rows as part of the complete hairstyle. A forward fringe and a brushed-back style expose the edge differently. Tell the manufacturer which look is planned and whether the wearer expects to alternate between them. Discuss the desired front profile before choosing the density number for the main body.

Connect graduation with contour and direction
Contour sets the outline, while ventilation controls how hair emerges from it. Density must work with both. At a curved or recessed temple, a uniform instruction may not create the same appearance as at the centre. Ask for a zone review where the front meets the sides, rather than copying one setting everywhere.
Review the centre and temples
Provide the intended parting and front root direction. If the client wants lift at the centre and a softer temple blend, mark those details separately. A density change cannot reliably correct an unsuitable contour or roots pointing the wrong way. Review these decisions together before approving the sample and production plan.
Match coverage to the wearer’s border hair
Look at the wearer's temple and side hair with the intended cut in mind. A light front leading immediately into an oversized top can still look disconnected. Equally, reducing the whole piece can expose more scalp than the client wants. Compare the centre, both temple connections and the first section behind the front before deciding where coverage should change.
Document a realistic visual reference
Reference photographs should show the centre front, both temples and side profile. Keep the hair dry and avoid strong filters when documenting the transition. A promotional photograph can inspire the look, but it should not become a measurable ventilation specification. Include the base size and intended fitting position with your images.
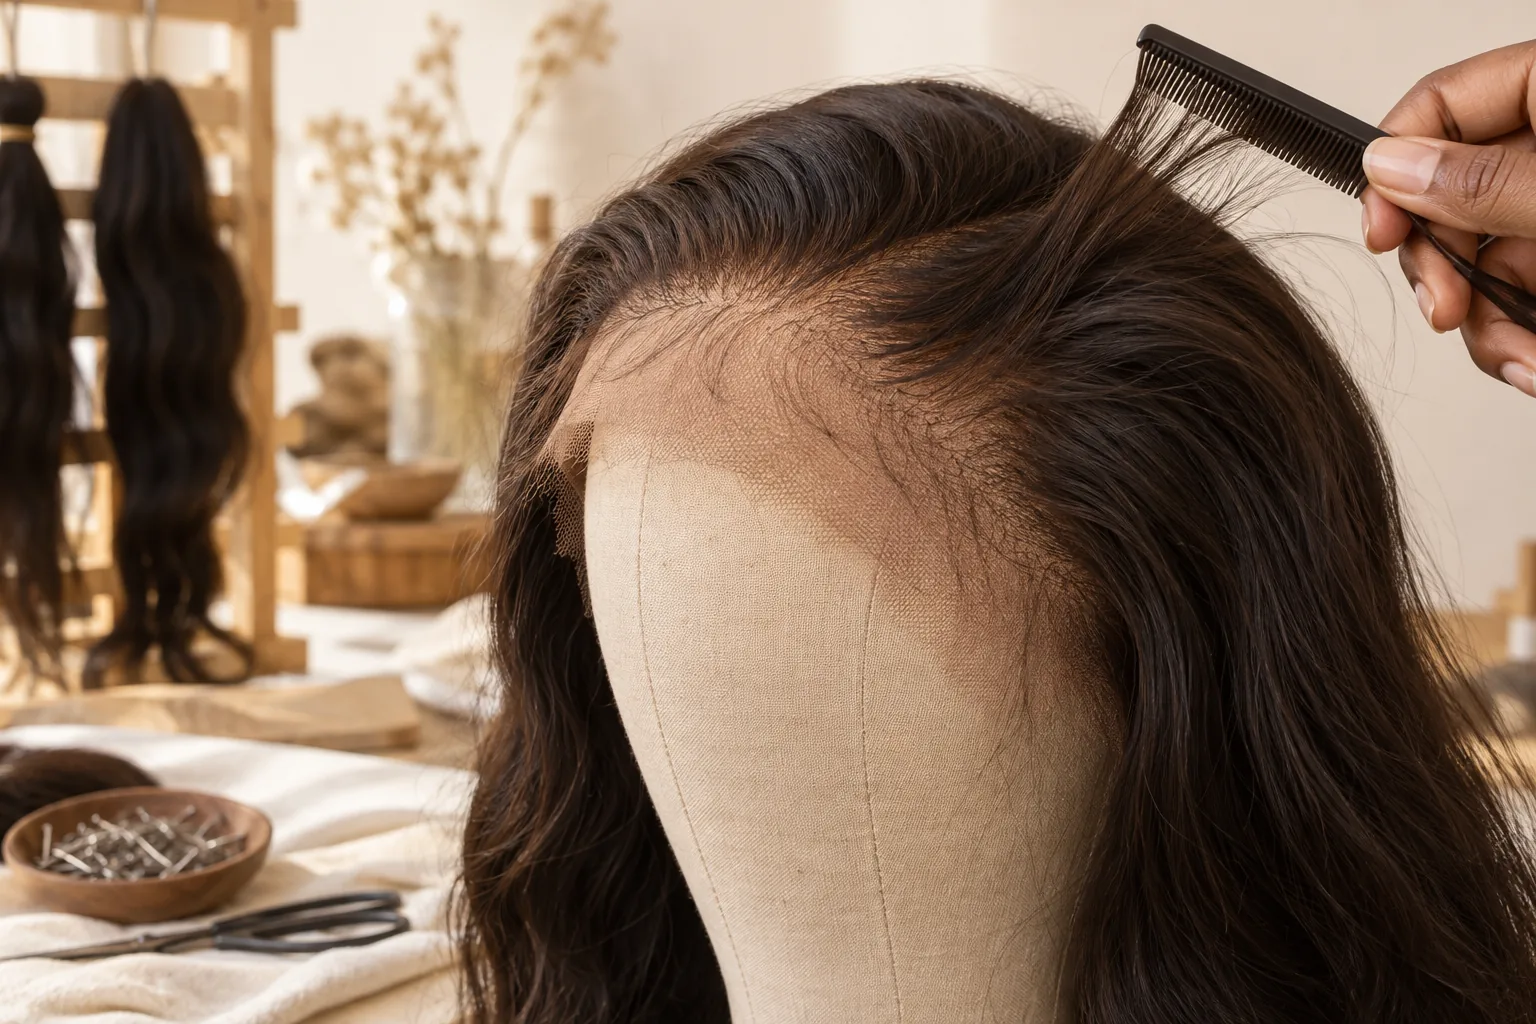
Inspect and repeat the approved graduation
Move hair gently away from the front and look for an abrupt band of coverage. Compare the centre and temples, then review the transition with the intended styling. Identify the location of any adjustment. Ask the team to assess knot treatment and material visibility before deciding that density alone explains an unsatisfactory edge.
Save the edge view with the map
If the salon makes a local thinning adjustment, record it before ordering again. Otherwise purchasing may repeat the original factory brief while expecting the altered salon result. Include the finished photographs, outline and written transition instructions in the reference record. Distinguish factory changes from changes made during the final haircut.
During inspection, take one photograph with the front gently brushed back and another in the everyday style. If a hard band remains, mark its start and end on the drawing. Ask whether the correction concerns hair placement, knot size or direction before requesting thinning. Randomly plucking a delivered sample does not create a reliable specification for the next production run.