
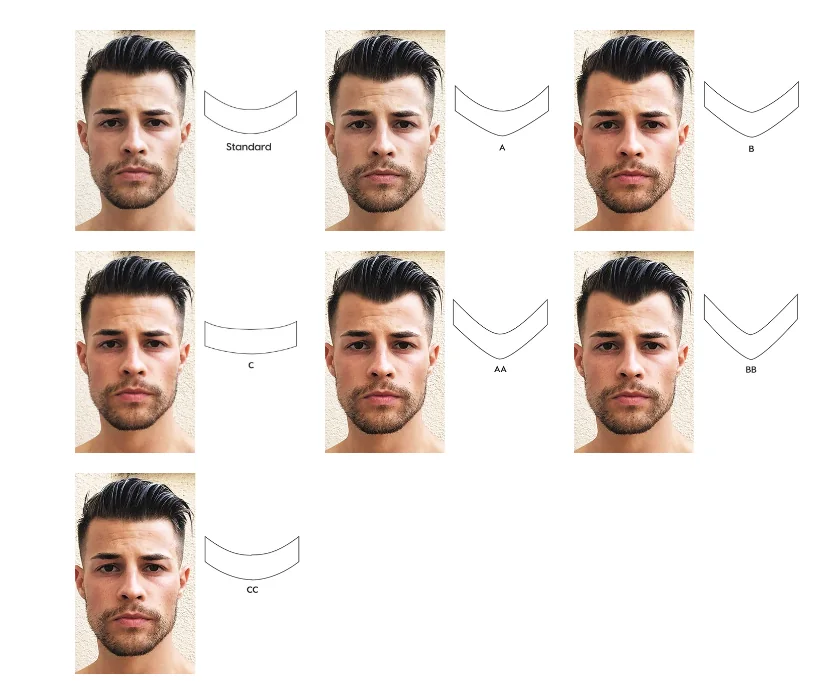
A front contour is the outline of the hair system at the forehead. In commonly used charts, A and AA tend to describe a more recessed shape, while C and CC tend to be flatter or fuller across the front. The exact curves differ by supplier. Use the letter to locate a chart sample, then judge the actual outline against the wearer's intended hairline and temple connections.
Use codes with their matching shape chart
The letters are shape references, not measurements or universal age categories. A system with the correct base width can still have the wrong front curve. Compare centre depth and both temple points on the current supplier chart. If no stock shape follows the intended boundary, a custom tracing is clearer than choosing whichever letter is described as most natural.
Do not assume universal dimensions
Keep the selected outline with the order notes and identify which side faces the scalp. Record its overall width and the central front point where relevant. If you are replacing another brand’s system, send a tracing or template instead of copying its code. This avoids importing an outline that the new supplier interprets differently.
Assess the centre and temple connections
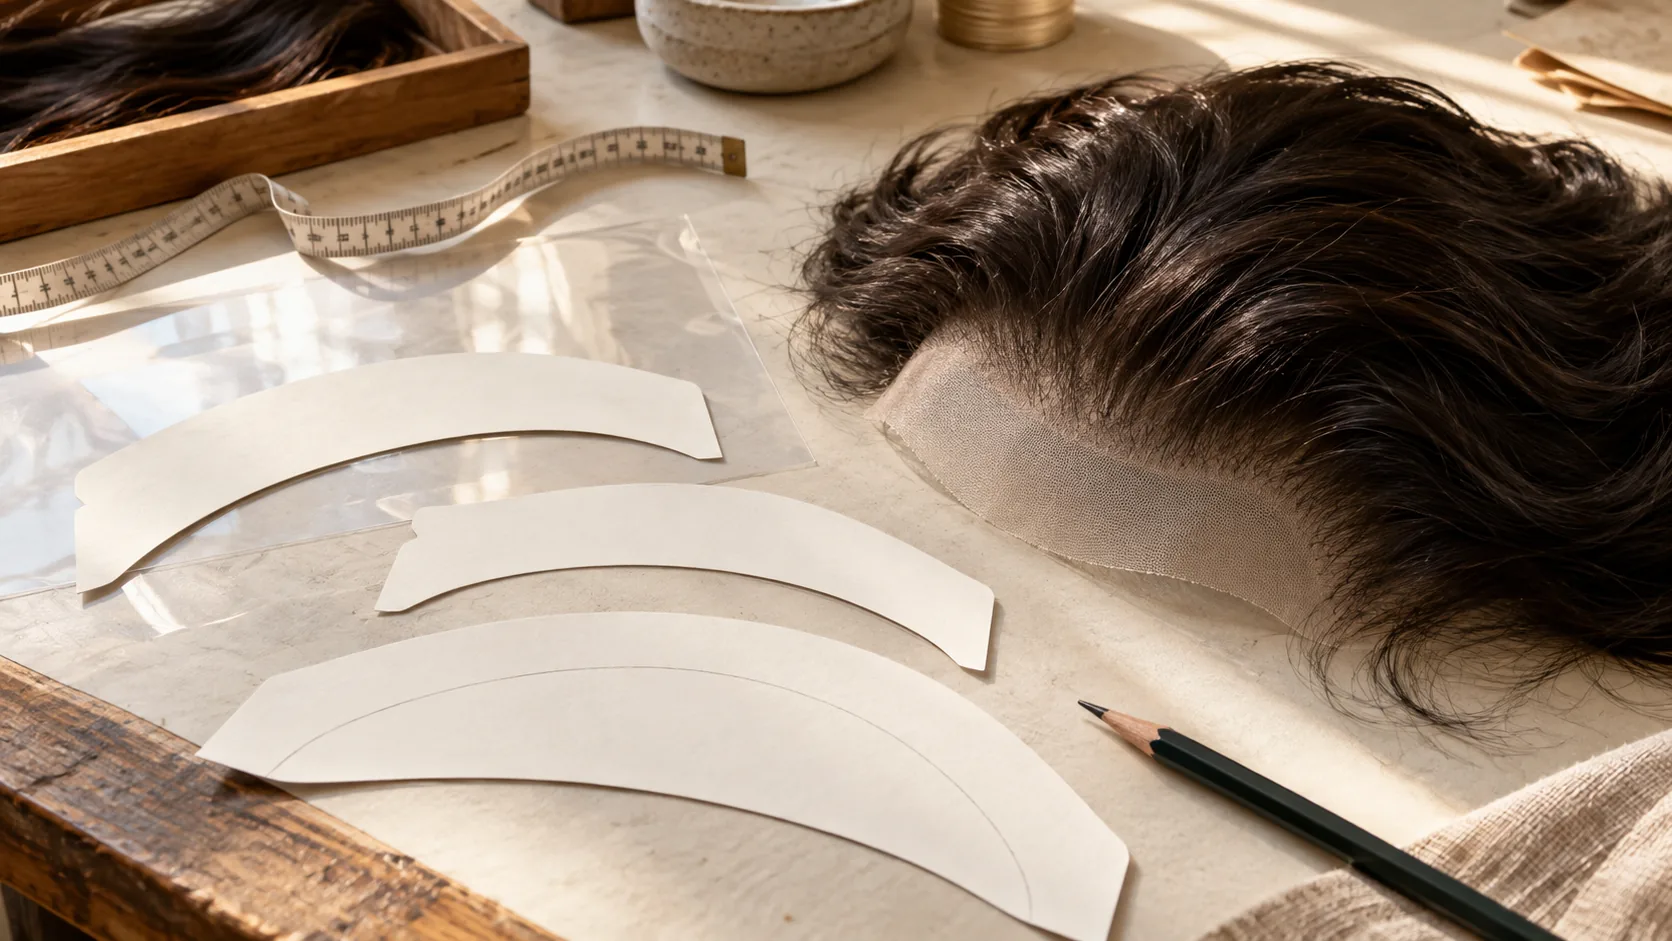
Compare the proposed centre front with the wearer’s intended hairline position. Then examine how the outline meets both temples. The shape should be reviewed on the actual client or fitting template, not chosen from a flat catalogue image alone. A contour that appears attractive on one face can look different on another.
Review the outline at the intended fitting position
Mark the centre front and the wearer's left and right temple points, then compare the outline between them. If one side recedes farther, preserve that asymmetry unless the stylist and client deliberately want a change. A correctly labelled overhead tracing plus front and side photographs is more informative than selecting a contour solely from a model of a similar age.
Keep contour separate from edge finish
A letter code describes the larger front shape, not every detail at its edge. The order may separately specify a graduated hairline, exposed lace, a skin front or another finish. Keep these instructions in different fields so the factory does not interpret a contour change as a request to alter density or base material.
Explain density and scalloping independently
Scalloped or irregular edges are another separate design question. Ask whether the selected construction supports the requested finish before approving it. Do not cut repeated shapes into a delicate sample to imitate a catalogue photograph. The supplier should review compatibility and confirm any finishing requirement with the production drawing.
Approve the outline and preserve the reference
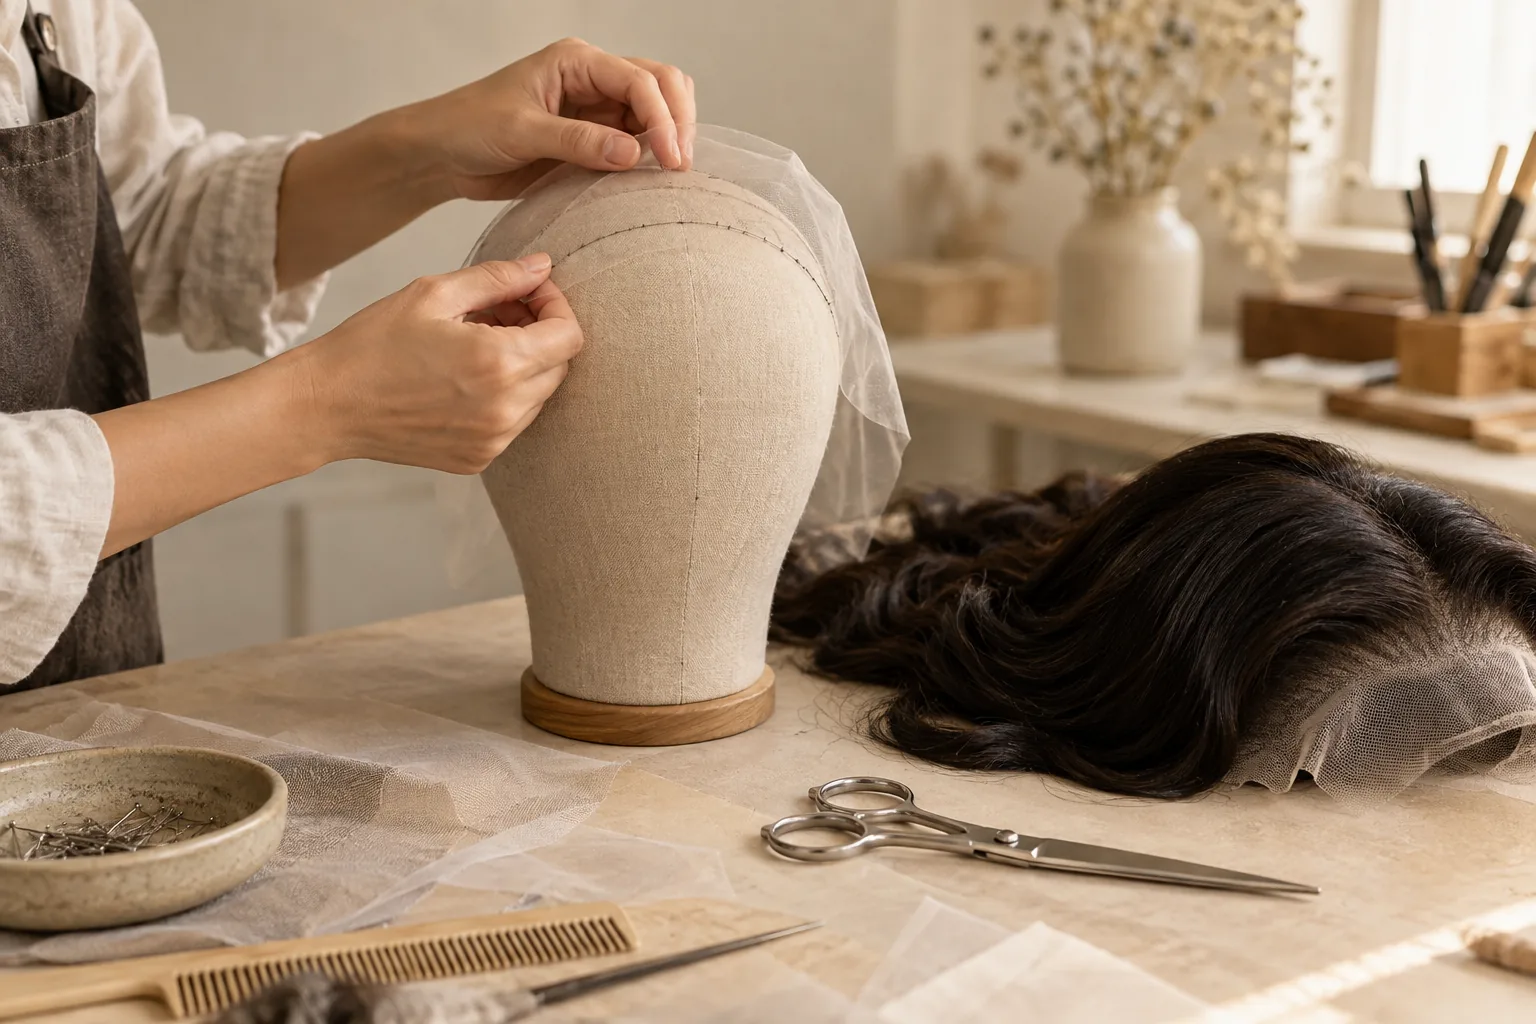
Before approval, compare the sample front with the agreed tracing or shape reference. Look at width, the centre curve and both temple regions. If the outline differs, mark the location and provide a measured comparison. A statement such as make it more natural is less useful than identifying the specific front segment.
Recheck it when the fitting plan changes
When the wearer changes style or fitting position, review the contour again. The original outline may still work, but it should not be repeated automatically after significant changes. Save the dated template and approved photographs together with the product code. Keep any salon trimming record separate from the original factory shape.
Before a repeat order, place the approved front tracing beside the new sample without stretching either one. Check the centre and temple points first, then the curve between them. Record the chart version or physical template code in the Royal Hair enquiry. That reference prevents a familiar letter from silently substituting a different outline when the supply source changes.