
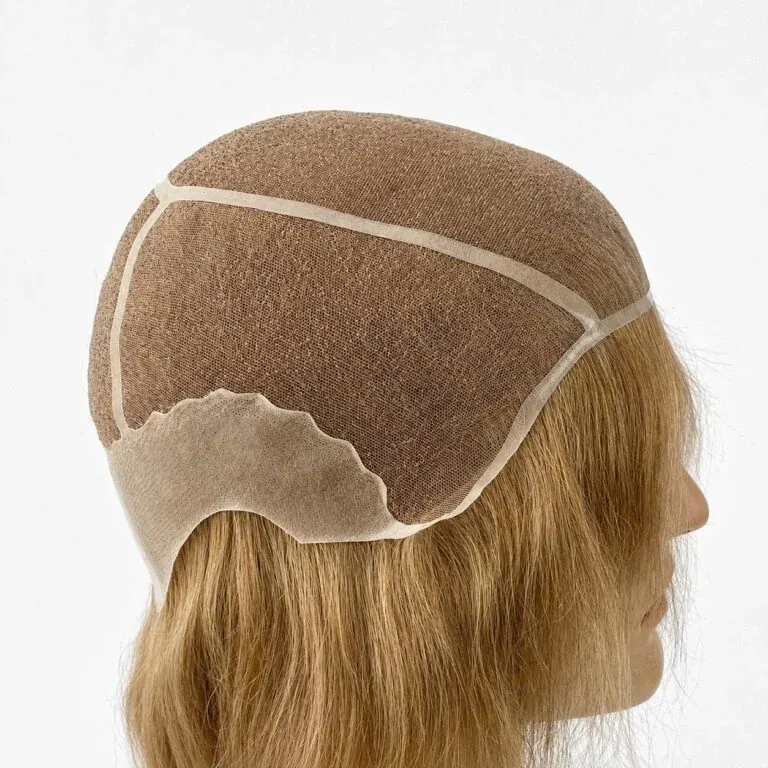
A custom contour template records the front outline when a stock shape is not close enough. It should show where the piece sits, how the centre meets the forehead and how each side connects to the temples. A full shaped template also carries information about head curvature that a flat tracing cannot. Establish the fitting position first; otherwise the factory may reproduce an accurate outline for the wrong placement.
Agree on the fitting position first
The stylist should establish the intended position of the front before a contour is recorded. Consider the wearer’s existing border hair, preferred style and the area needing coverage. Do not measure a contour around a temporary placement that will be changed at installation. The final position should be agreed with the client.
Use the wearer as the reference
Record the centre front and both temple connections. Front and side photographs can help explain why the outline has been chosen. Keep these references consistent with the template rather than photographing a different placement later. If the two sides differ, label them clearly so the factory does not accidentally reverse the design.
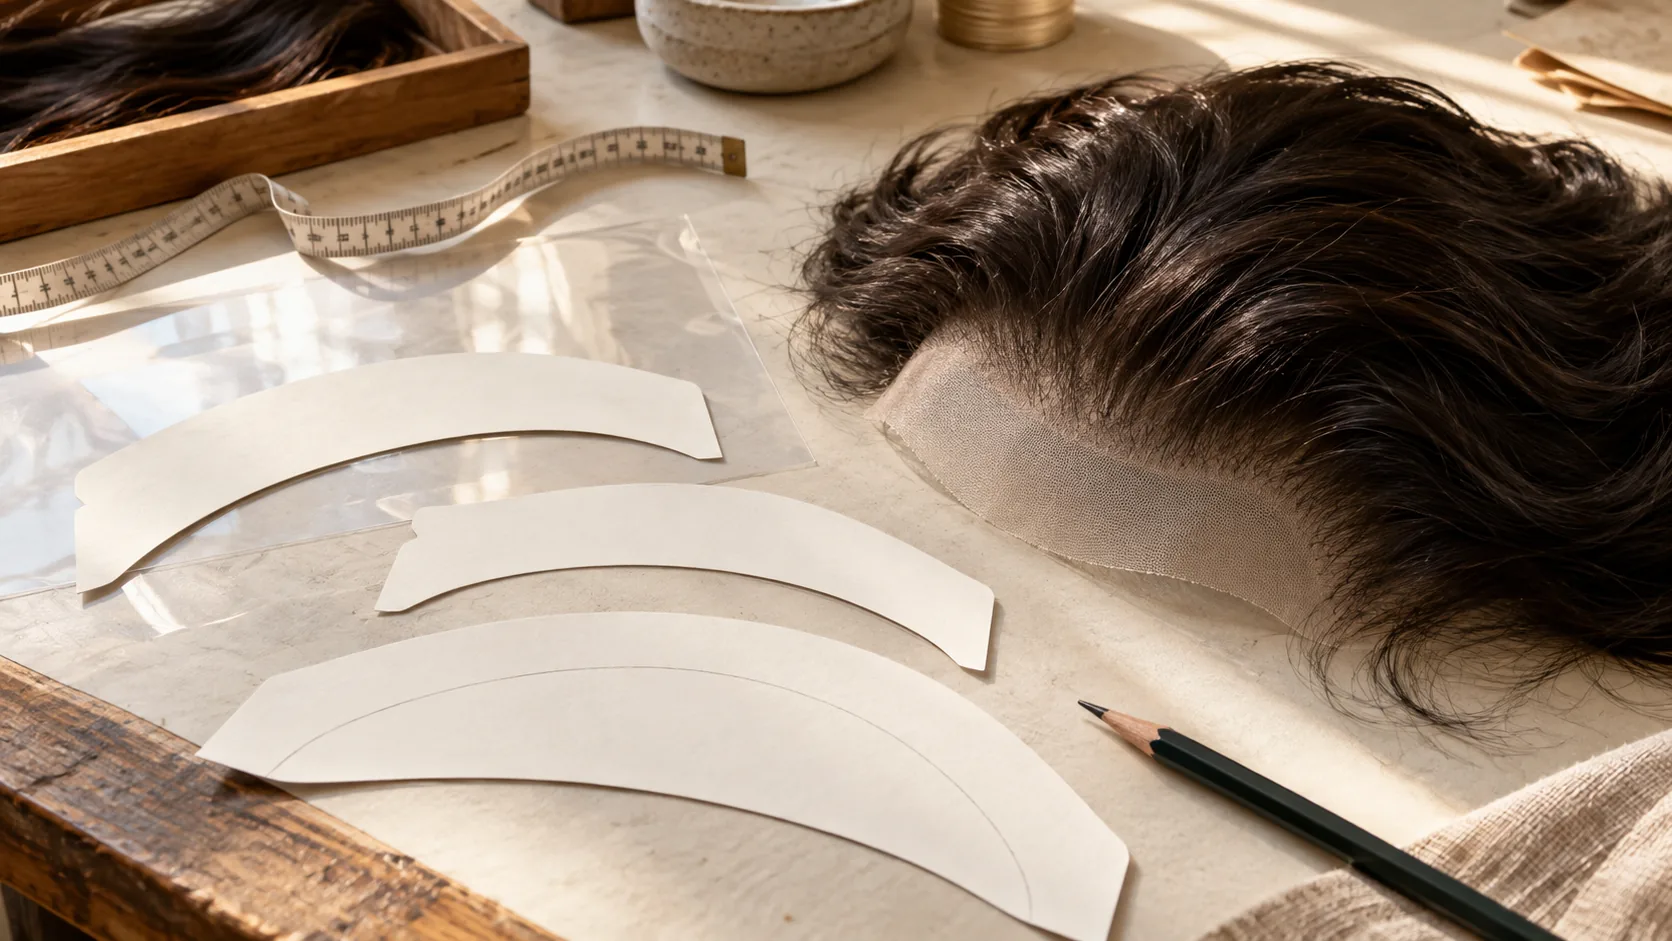
Make the tracing readable and measurable
Label front, back and the wearer's left and right, then add a centre line and the agreed units. For a digital tracing, include a 50 mm reference bar and print at actual size, not fit to page. Measure the printed bar before using the outline. A correctly labelled but resized screenshot can still produce the wrong contour.
Identify orientation and scale
The front tracing defines the border; a shaped template also records the surface it must follow. Two heads can share similar length and width measurements while having different curvature. Confirm which reference the factory needs for the selected base. Photograph the template on its supporting form and pack it without flattening or sharply folding the shape you want reproduced.
Describe the construction beside the outline
Mark any lace front, polyurethane perimeter or other transition on a separate copy of the drawing. Give widths in the agreed units and explain whether they are measured inward from the outer edge. Keep the contour line visible. Crowding a template with several conflicting colours can make the essential boundary difficult to identify.
Add material zones without obscuring the border
Add ventilation direction and graduated density as distinct instructions. These details work with the contour but are not substitutes for it. If the front will be exposed, state that explicitly. Include the proposed haircut and explain whether the client expects the same appearance when brushing the hair backward or wearing it forward.
Check the sample against the retained template
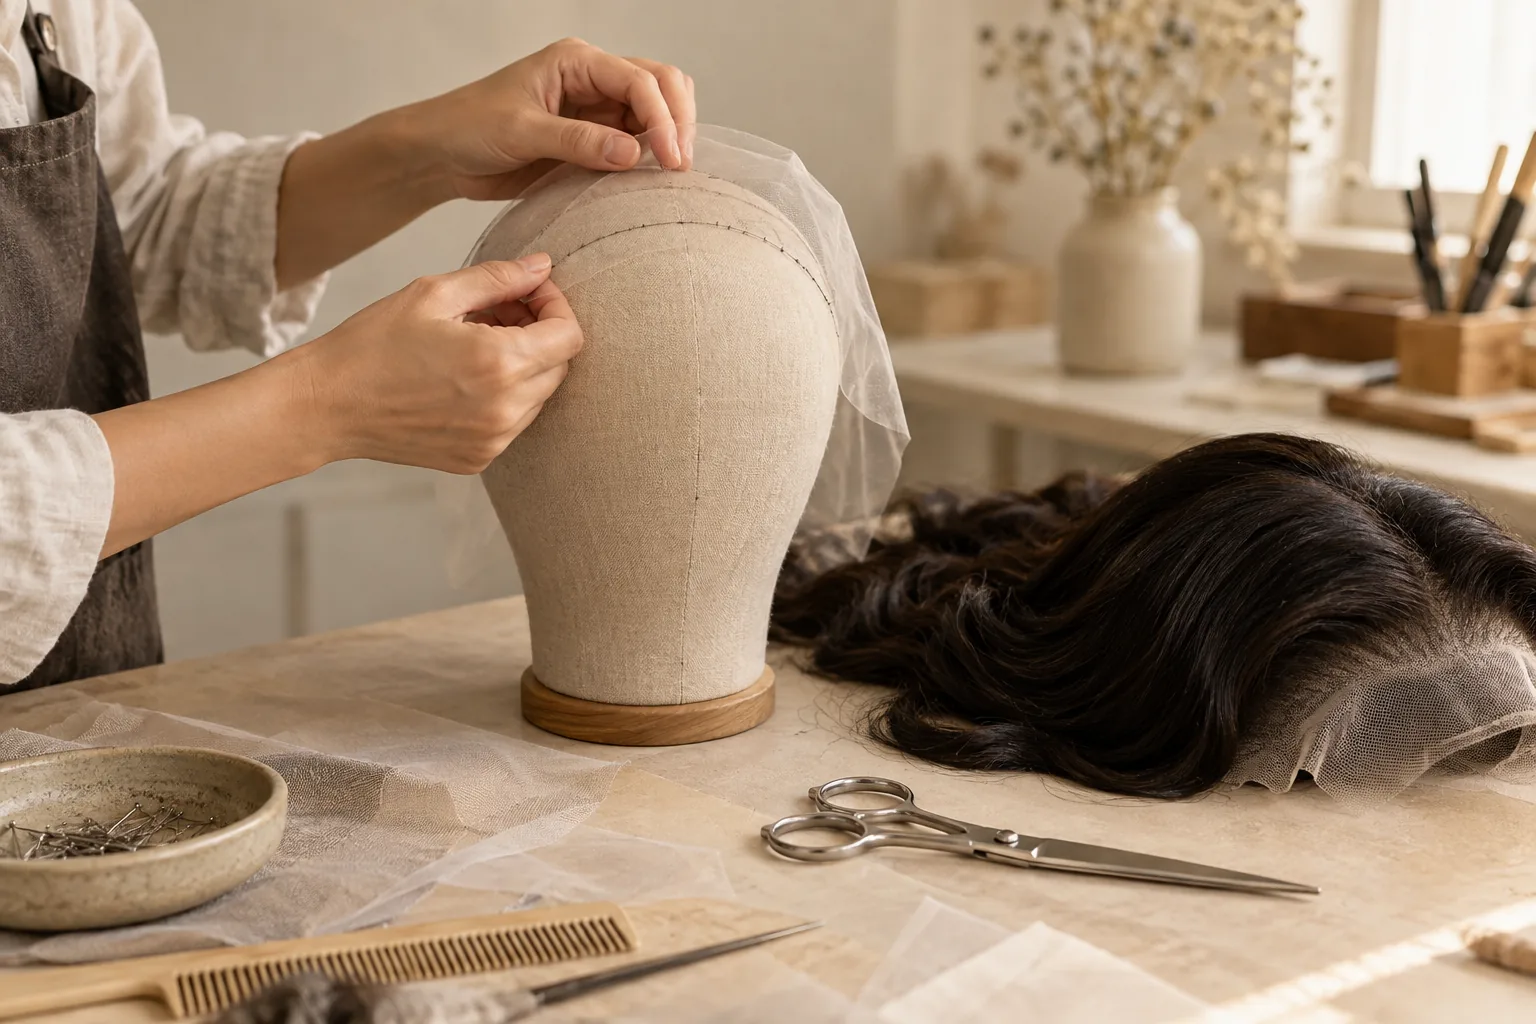
Compare the sample outline with the approved reference before irreversible trimming or cutting. Check centre alignment and both temple regions, then look at how the material transitions follow the shape. If a revision is needed, mark it on a duplicate drawing and date the new version. Do not overwrite the original reference silently.
Keep changes under version control
A repeat order should identify the exact approved template version. Mention any alterations made during salon fitting and whether those changes should be incorporated at the factory. This is especially useful when a wearer has ordered several pieces over time and the latest preferred outline differs from the first one.
Use a short approval checklist: centre front aligned, left and right temple points matched, full outline readable, dimensions checked and material zones consistent. Date any revised tracing and retain the earlier version. When sending a Royal Hair custom enquiry, identify which version is approved and whether salon trimming should be incorporated. This prevents two valid-looking templates from competing as the production reference.