
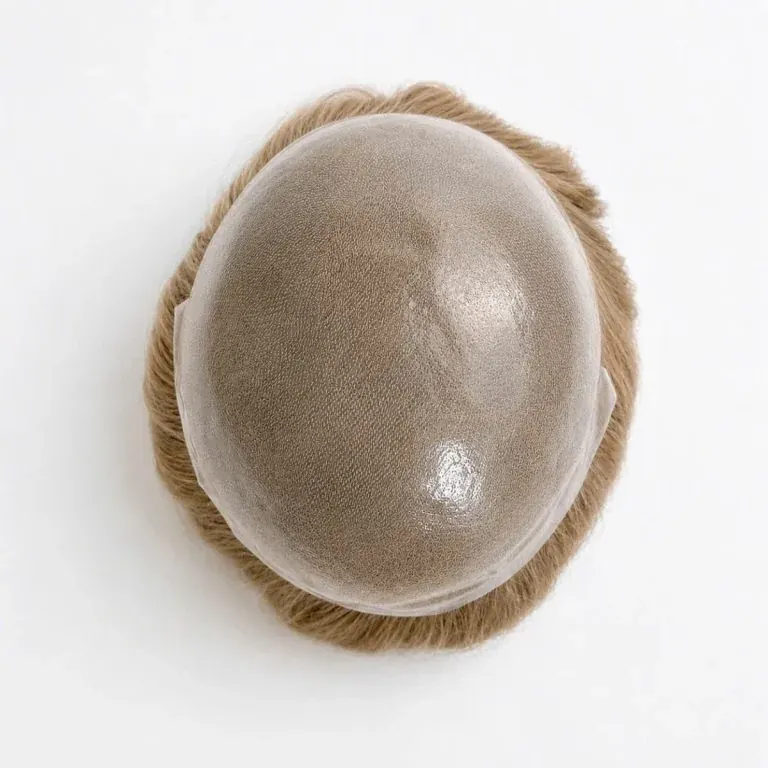
Clear polyurethane skin is a film construction; a glass-silk perimeter generally describes a reinforced composite around a different centre or within a particular base. Both may be called poly, but their feel, visibility and thickness can differ. The useful specification identifies where each material sits and how it supports attachment. Glass silk at the edge should not be confused with a layered silk top used to conceal knots at the part.
Distinguish a skin base from a poly perimeter
A skin-based piece uses polyurethane across the relevant base area. A lace or mono piece may instead have poly only around selected edges. Mark which construction you want on an underside drawing. State whether the front, sides and back use the same arrangement, because a continuous perimeter and separate strips are not identical.
Map the material’s actual position
Glass silk is a trade term used for a fine reinforcing layer combined with polyurethane in some constructions. The resulting edge can feel more substantial than an unreinforced clear film. Terminology is not completely uniform, so retain a sample and request the layer description. Do not infer the precise fibre composition or thickness from the word silk alone.

Record thickness without overlooking zones
Thickness should be attached to a clearly identified material area. Ask whether the stated figure applies to the main skin, a perimeter strip or another section. Where several zones differ, record them individually. A single number on a product title does not necessarily describe every edge and reinforcement on the finished piece.
Confirm the available construction directly
Royal Hair’s existing skin guidance includes available options in the 0.04–0.12 mm range, subject to confirmation for the design. Do not assume every thickness promoted elsewhere is available for your order. Review the proposed material with ventilation, density and length, and ask the team to flag incompatible combinations before production.
Plan the attachment area with the stylist
Draw the usable attachment width separately at the front, sides and back. For instance, 25 mm is approximately one inch, but specify which unit controls rather than mixing rounded conversions. State whether the strip is measured inward from the outer edge and whether it is continuous. A photograph of the hairstyle cannot communicate the width of the hidden bonding surface.
State widths and positions precisely
Review the layout with the professional fitting the piece. A change from full lace to a poly perimeter can affect the way the stylist prepares the attachment area. Discuss handling and approved products with the supplier. Do not assume the routine for an old system transfers unchanged to a different material combination.
Inspect transitions and preserve the sample record
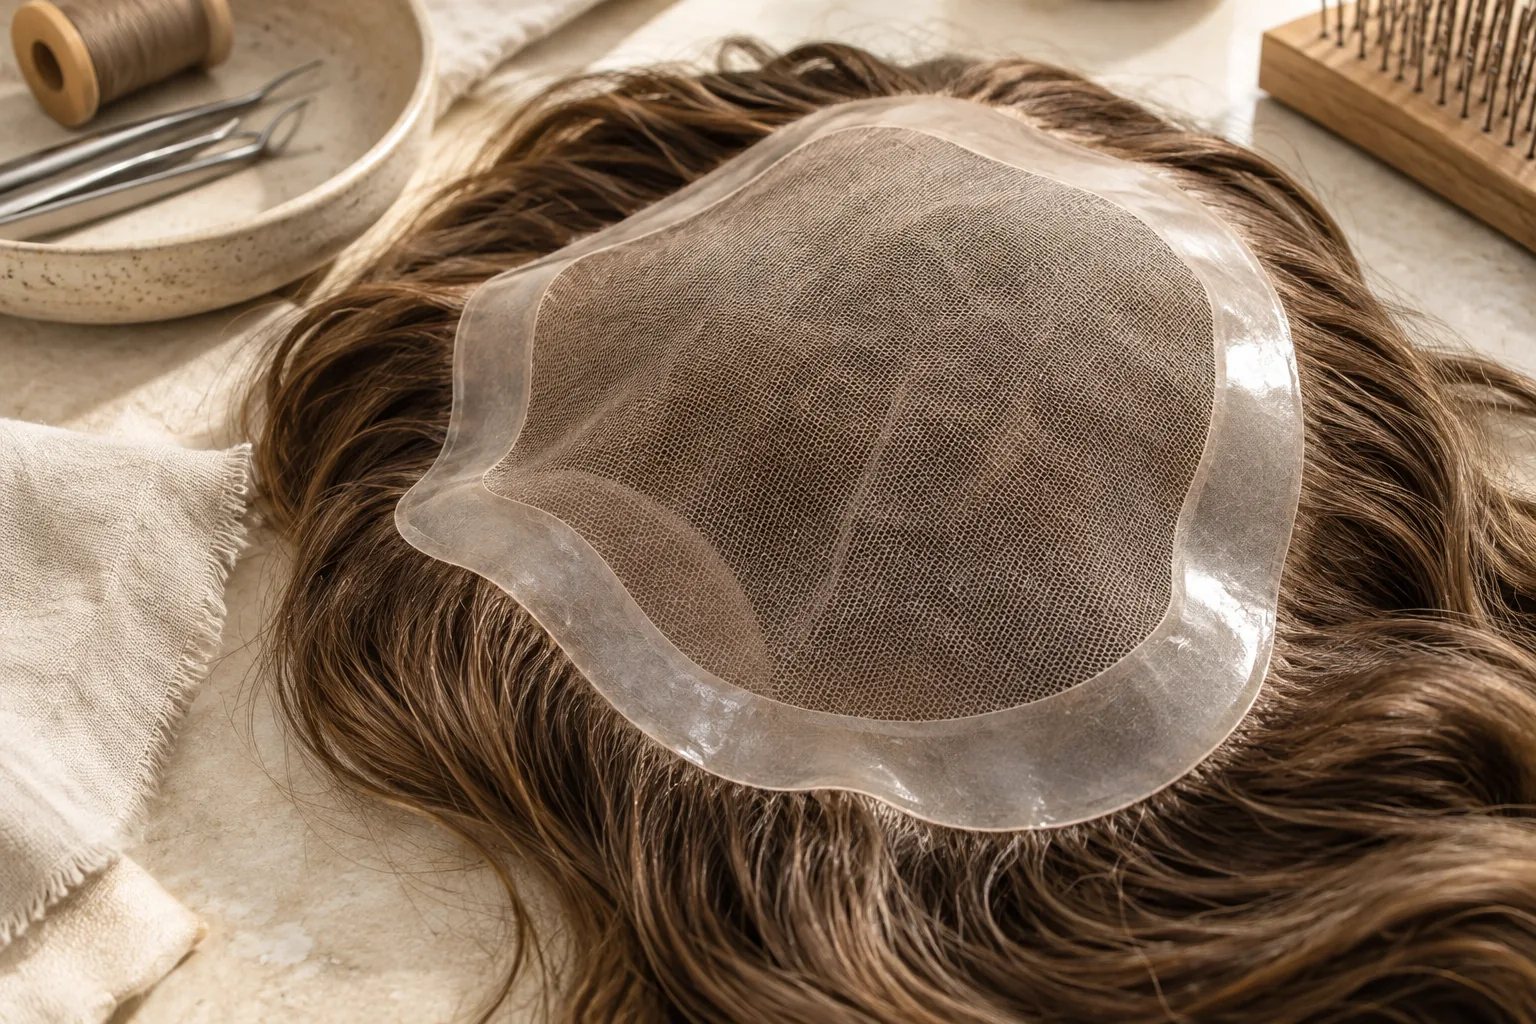
Compare the sample with the agreed zone drawing. Examine perimeter width, the transition into the centre and the front configuration. Request an explanation for any difference before trimming or installation. A reinforced edge may look different from clear skin, so assess it against the correct material reference instead of an unrelated sample.
Check the underside before judging the hairstyle
Record what the approved sample contains, including thickness references and the ventilation used in each relevant zone. Save close-ups of the underside with the order. If another material is proposed for a repeat, ask for a revised specification and sample review. A similar name should not silently replace the approved construction.
At receiving, check the measured strip width, corners and joint with the centre before any trimming. Note bubbles, lifted layers or an unexpected stiff transition for technical review without peeling the material apart. For a repeat, identify the approved perimeter reference alongside the centre and front design. This keeps a reinforced edge from being silently replaced with clear skin under the same shorthand label.