
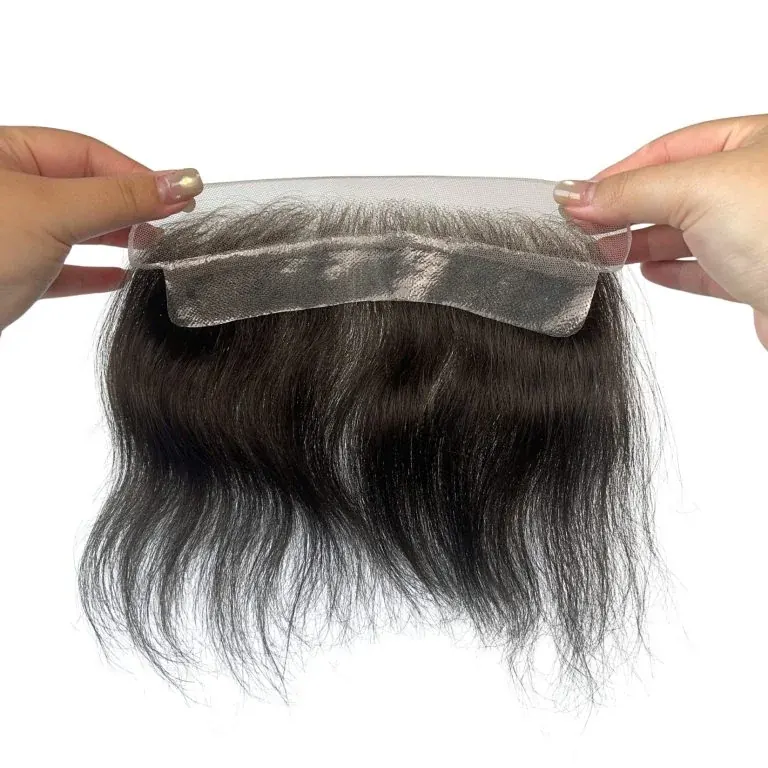
A scalloped edge uses small waves or zigzags to interrupt a continuous front boundary. A smooth edge follows the chosen contour without those smaller cuts; smooth does not mean the entire hairline must be straight across the forehead. Either finish can look suitable in the right construction. The important trade-off is whether the visual break is worth changing the strength and usable attachment area of the edge.
Separate edge finish from overall contour
Think of contour as the large curve and scalloping as the small pattern placed along it. An A contour, for example, can still have a smooth edge. Conversely, a scalloped edge does not specify temple recession. Show the overall outline on one drawing and the requested pattern in a separate close-up, including where it begins and ends.
Identify the two design decisions
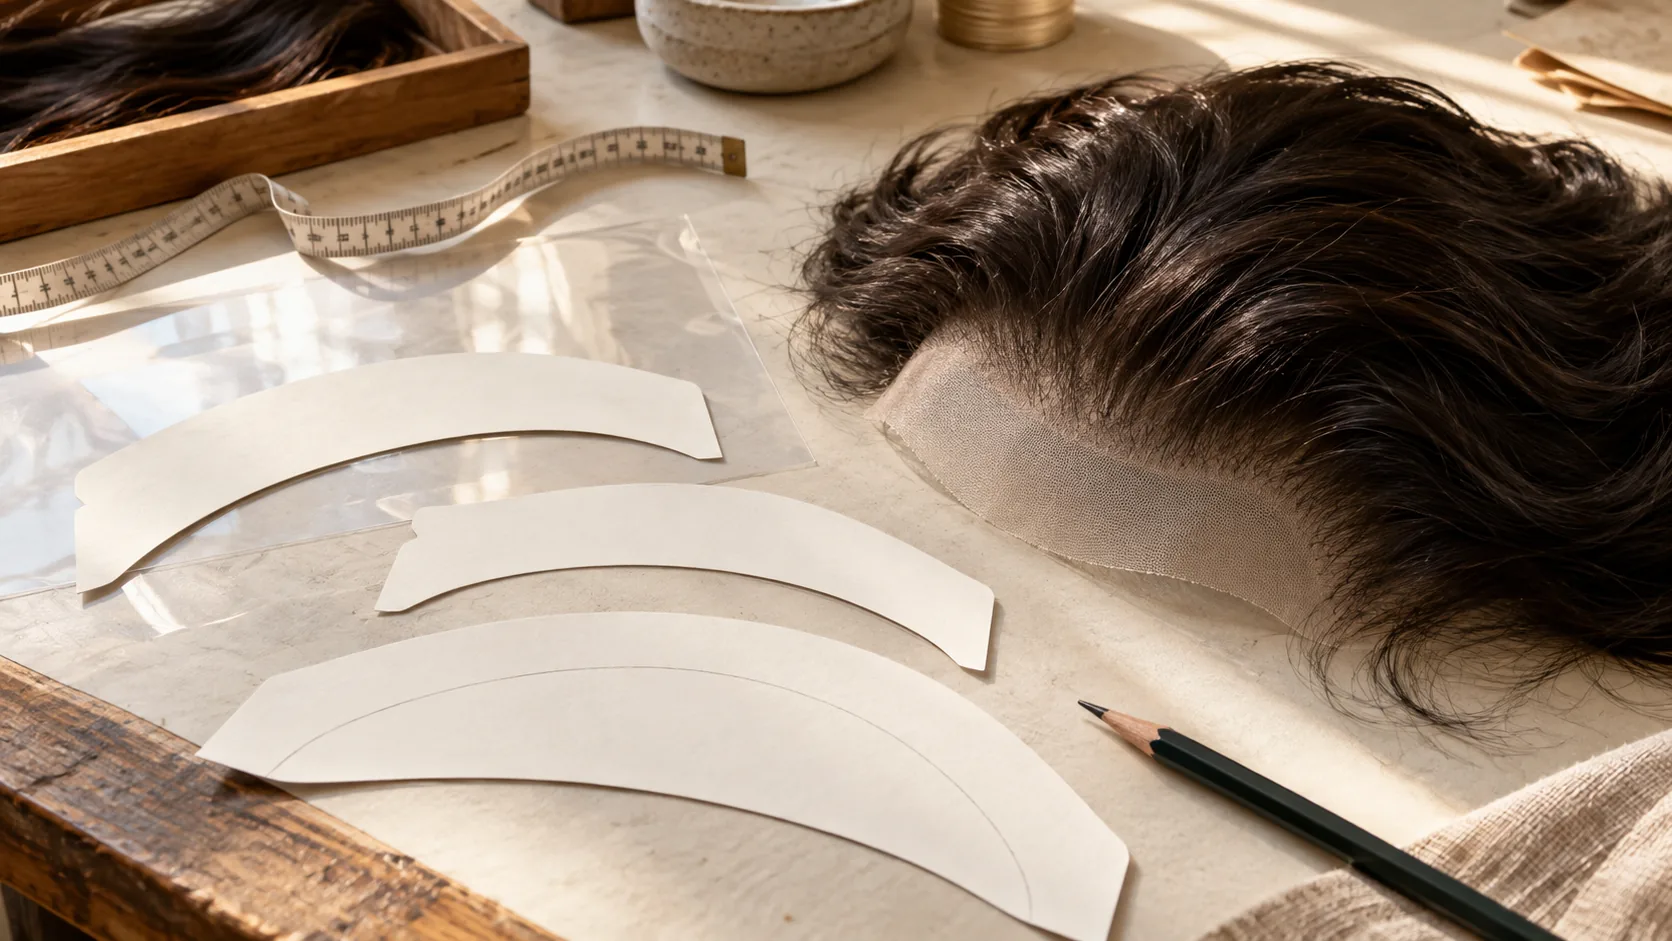
If your team requests scalloping, provide a drawing or an approved sample rather than relying on the word alone. State the area where the finish should appear and ask the factory to confirm its scale. A contour code is not enough to communicate the size or spacing of the smaller edge features.
Confirm material compatibility
Scalloping can encourage fraying in lace and create vulnerable points in extra-thin skin, which is why some manufacturers restrict it to suitable reinforced or skin constructions. Do not turn that caution into a universal ban or assume every skin model qualifies. Confirm the exact Royal Hair design and edge specification before altering a delivered piece or requesting a factory change.
Do not modify delicate edges casually
For a sample already delivered, consult the supplier before cutting a decorative pattern into the front. Repeated cuts can change the available attachment area and leave vulnerable sections. A professional fitting adjustment and a factory-designed scalloped edge are separate operations. Keep the original sample intact while the intended modification is being assessed.
Discuss visibility and the attachment area
Explain whether the front will usually be exposed. A brushed-back style invites a different inspection from a forward fringe, even when both use the same contour. Clarify how hair coverage meets the boundary and whether there is unventilated material for fitting. Keep these details consistent with the planned front density and root direction.
Consider the wearer’s hairstyle
Show the intended tape or adhesive region on an underside diagram and review it with the stylist. Do not assume an irregular front can be attached using the identical layout used for a previous smooth edge. Ask about the practical fitting plan before a larger order is approved, especially when the client changes base construction.
Inspect the finished boundary in context
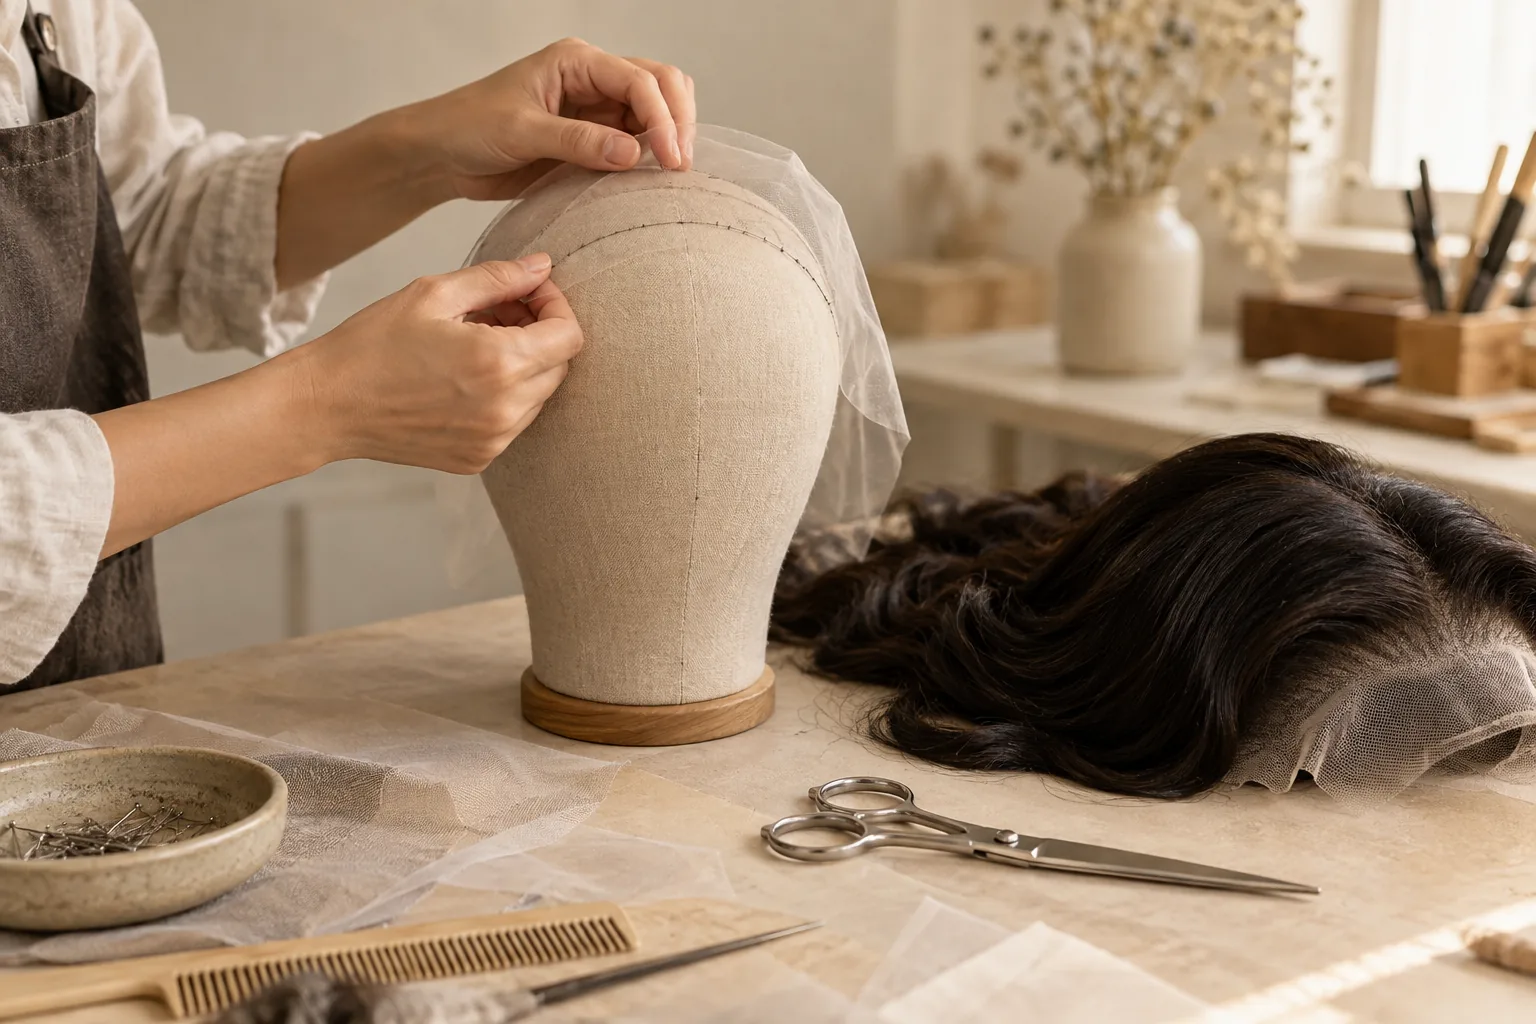
Request a close-up with the front hair gently moved aside and an underside view of the same section. Compare the outline with the approved reference. Check for an unexpected change in material width or a visible segment that differs from the brief. A photograph with hair covering every edge cannot confirm the finishing detail.
Record geometry and front coverage together
Review the front in the intended hairstyle after the stylist evaluates the sample. Note whether any concern comes from the boundary, density, knot appearance or placement. These require different corrections. Avoid changing several variables at once unless the factory and salon have agreed how the new sample will be compared.
When comparing samples, look at the exposed front in normal lighting and inspect the underside attachment width. If hair completely covers the edge in the photograph, it cannot demonstrate a scallop advantage. Record the pattern reference, material and approved fitting plan together. Choose the finish that works as a complete front, rather than adding decorative cuts to compensate for an unsuitable contour.