
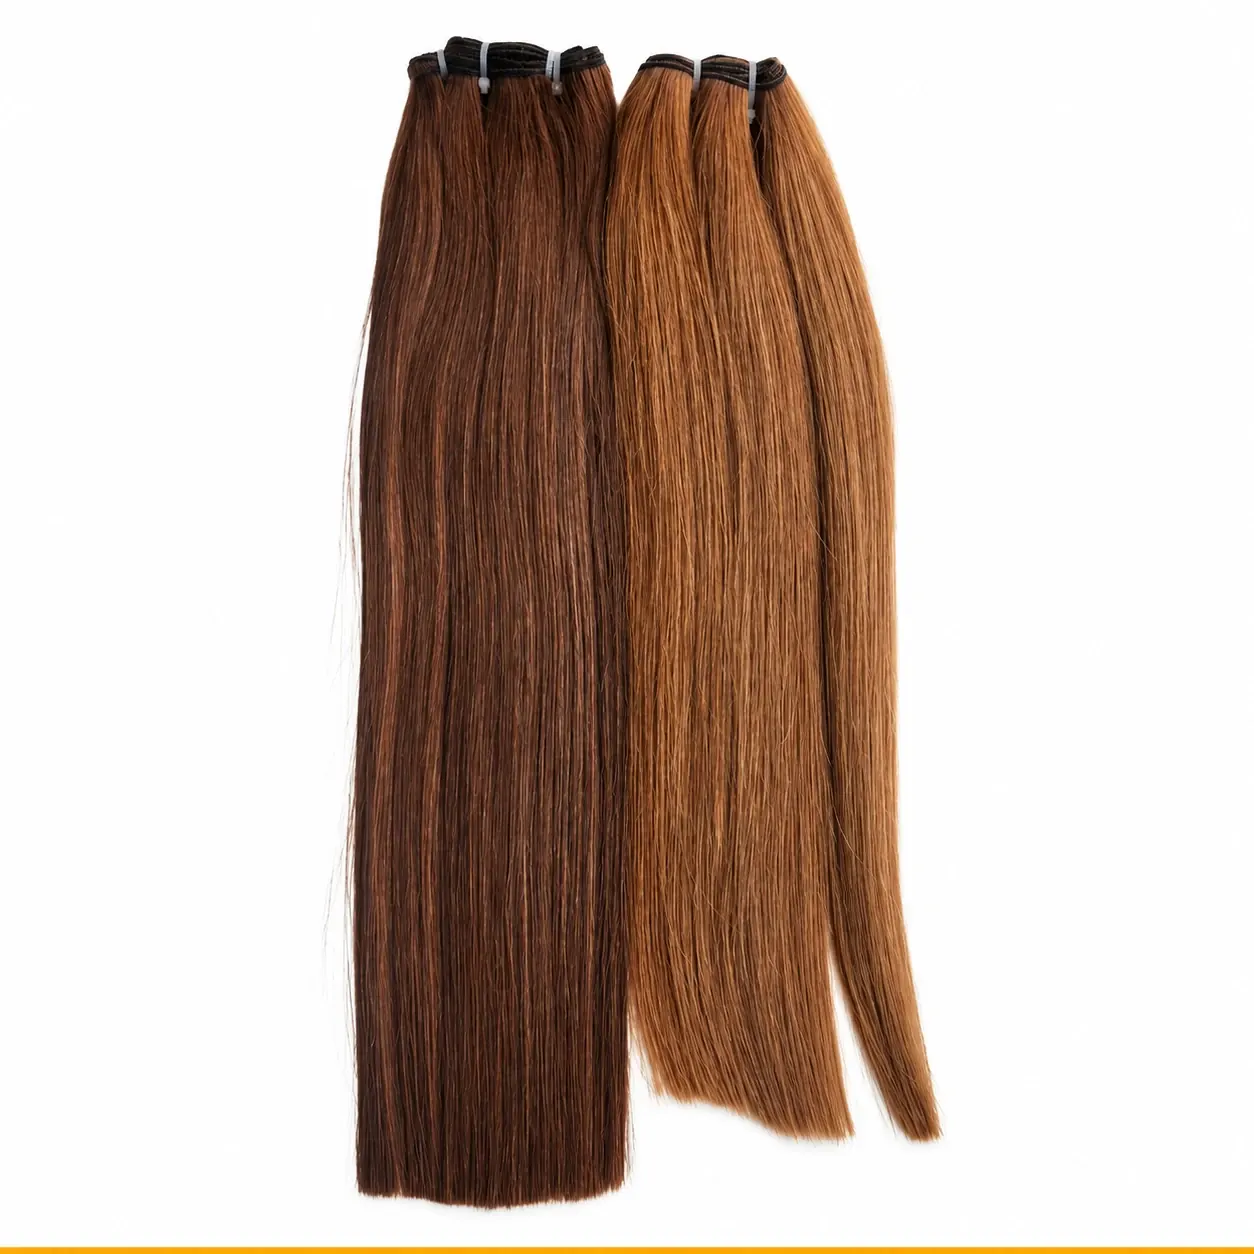
A colour order needs to explain both the shade and where it belongs. Brown roots fading into blonde ends are not the same specification as a solid blonde bundle, even if the same colour codes appear on the invoice. Start with the intended finished look, then confirm the starting hair and treatment history. A physical swatch and an approved sample are better references than a colour name viewed on different phone screens.
Describe the shade precisely
For ombre, describe the root shade, end shade, approximate transition position and how gradually the colours should merge. An example brief could request dark roots for the first 10 cm, a soft transition over the next 8 cm, and lighter ends. These are illustrative dimensions, not stock specifications. State whether the measurement starts at the weft seam, and attach a full-length reference.
Use more than a colour name
Photographs should be captured under consistent lighting without filters. Screens and camera settings can change the appearance of warm, cool or neutral tones, especially with lighter hair. If colour matching is critical, agree how the supplier will use a physical reference. Keep the approved sample as the main benchmark for the final order.
Ask about the starting material
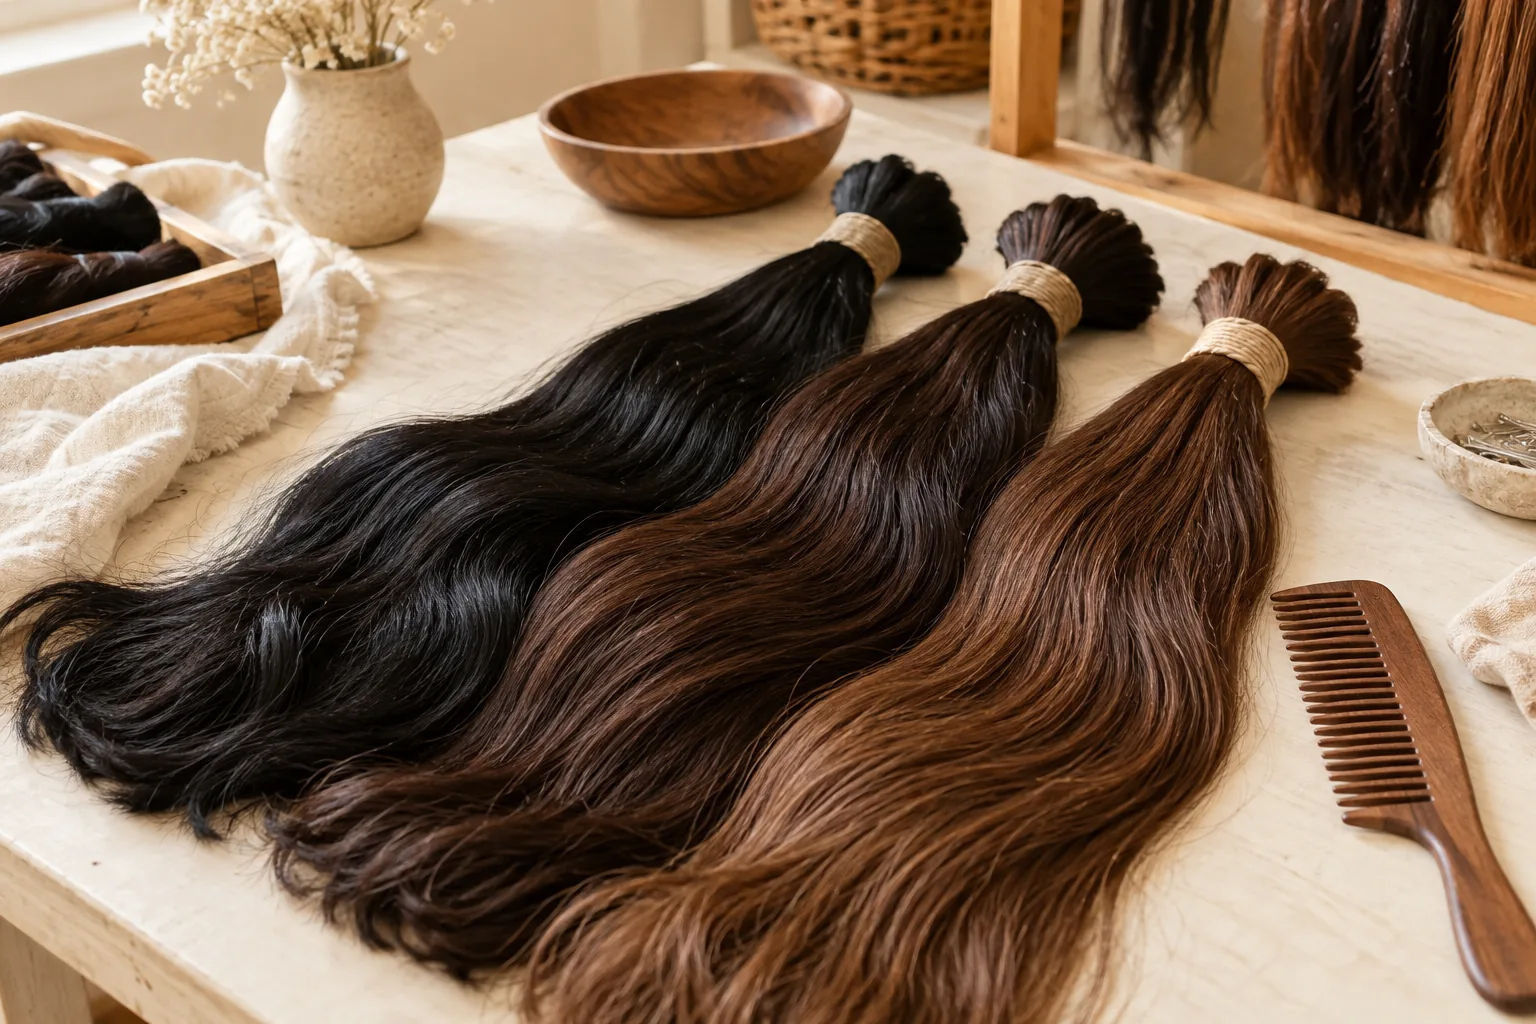
A supplier may use different materials or preparation routes for different shades. Ask whether the selected item has been lightened, dyed or otherwise treated. Do not infer that a blonde bundle is untreated because a natural dark model is described as virgin. Clarify the specification for the actual shade and texture being purchased.
Processing history matters
Lightening removes existing pigment; toning or colouring then adjusts the visible shade. Reaching a pale cool blonde may therefore involve more than applying a final colour. Previous dye and repeated processing affect the plan, so do not specify a bleach formula from a photograph. Have a professional assess the actual sample and agree a strand test before any further salon lightening.
Approve colour with texture together
Straight, wavy and curly hair reflect light differently, so the same nominal shade may appear different when styled. Inspect the sample in its intended texture and after permitted care. For ombre products, view the complete length rather than only the lightest ends. This makes it easier to judge whether the transition suits the planned style.
The complete result needs review
Consider the installation and cutting plan. Removing length may also remove part of an ombre transition or reduce the lightened section. Share that plan with the supplier if the colour placement must remain visible after cutting. A short written brief can prevent a visually attractive sample from becoming unsuitable in the finished application.
Keep marketing and care accurate
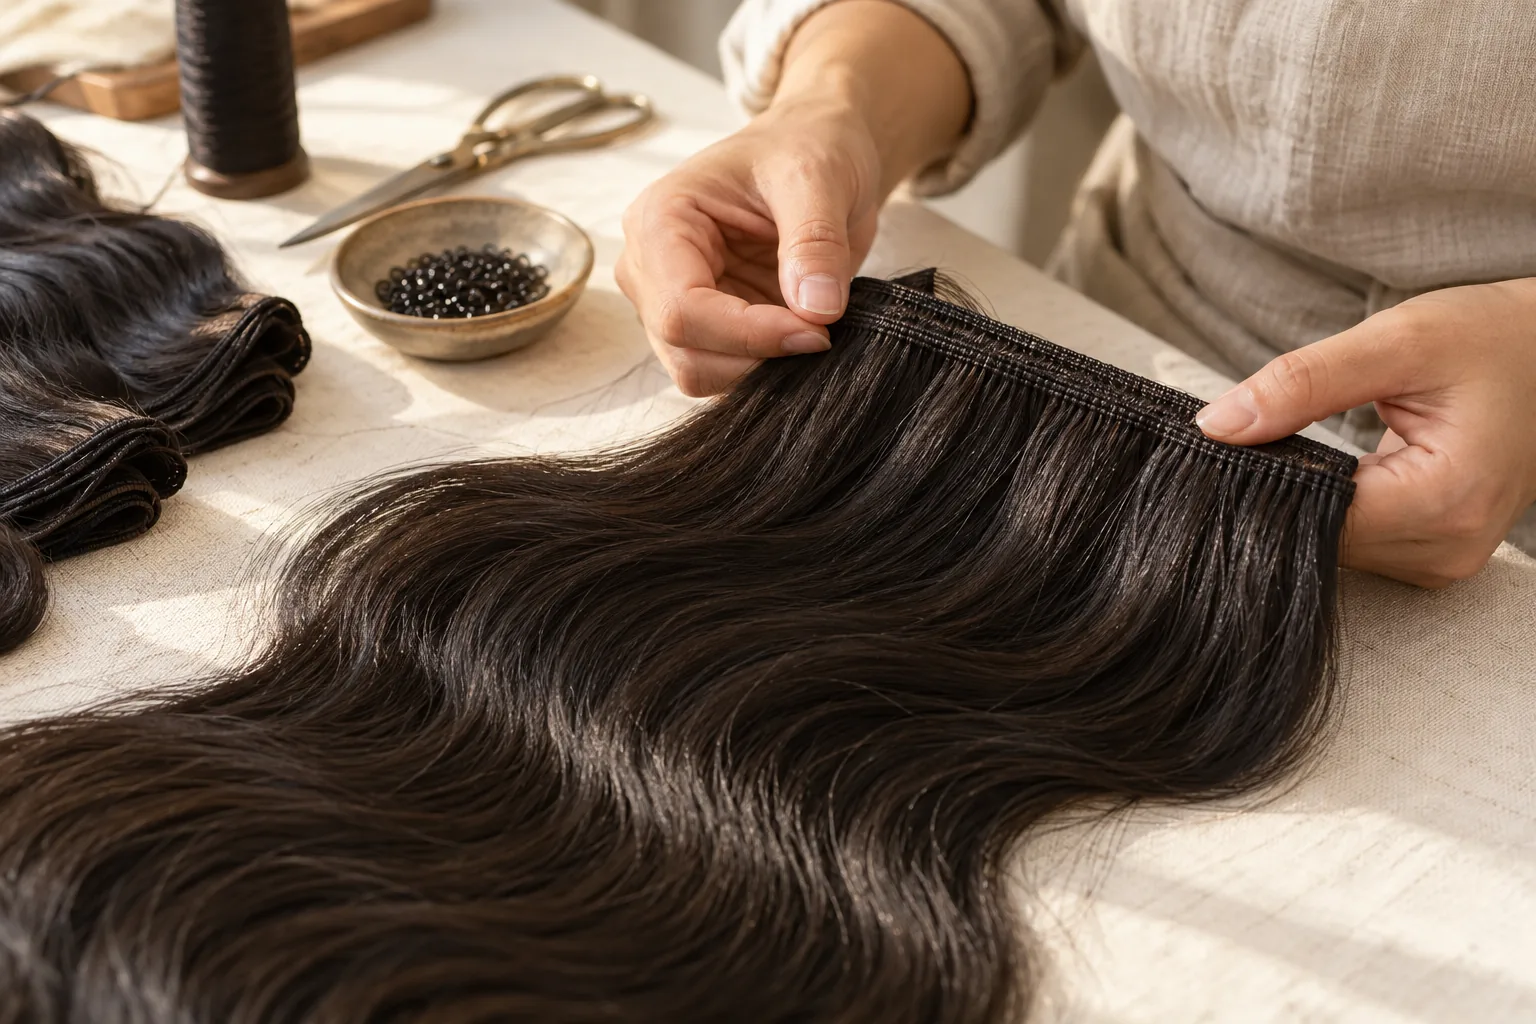
Describe the received shade and agreed processing information in your own product listing. Avoid promising unlimited bleaching, permanent colour stability or untouched hair without support. Provide care guidance that reflects the supplied item. Keep colour records alongside batch references so later enquiries can be compared with the correct approved version.
Make shade claims item-specific
Royal Hair's Hair Bulk catalogue offers machine weft models with different visual finishes; confirm current shade and material options for the chosen product. Read the Remy and virgin terminology guide before writing sourcing claims, and the texture production guide when combining shade with curls. The strongest approval is a clear specification supported by a representative sample.
For approval, photograph the full bundle and a close-up beside the agreed physical swatch, using the same lighting for both. Label which reference controls the tone and which controls the transition. Record whether the sample was viewed straight, waved or curled. If a later batch looks different, these details help separate a genuine shade mismatch from a change in camera exposure or styling.