
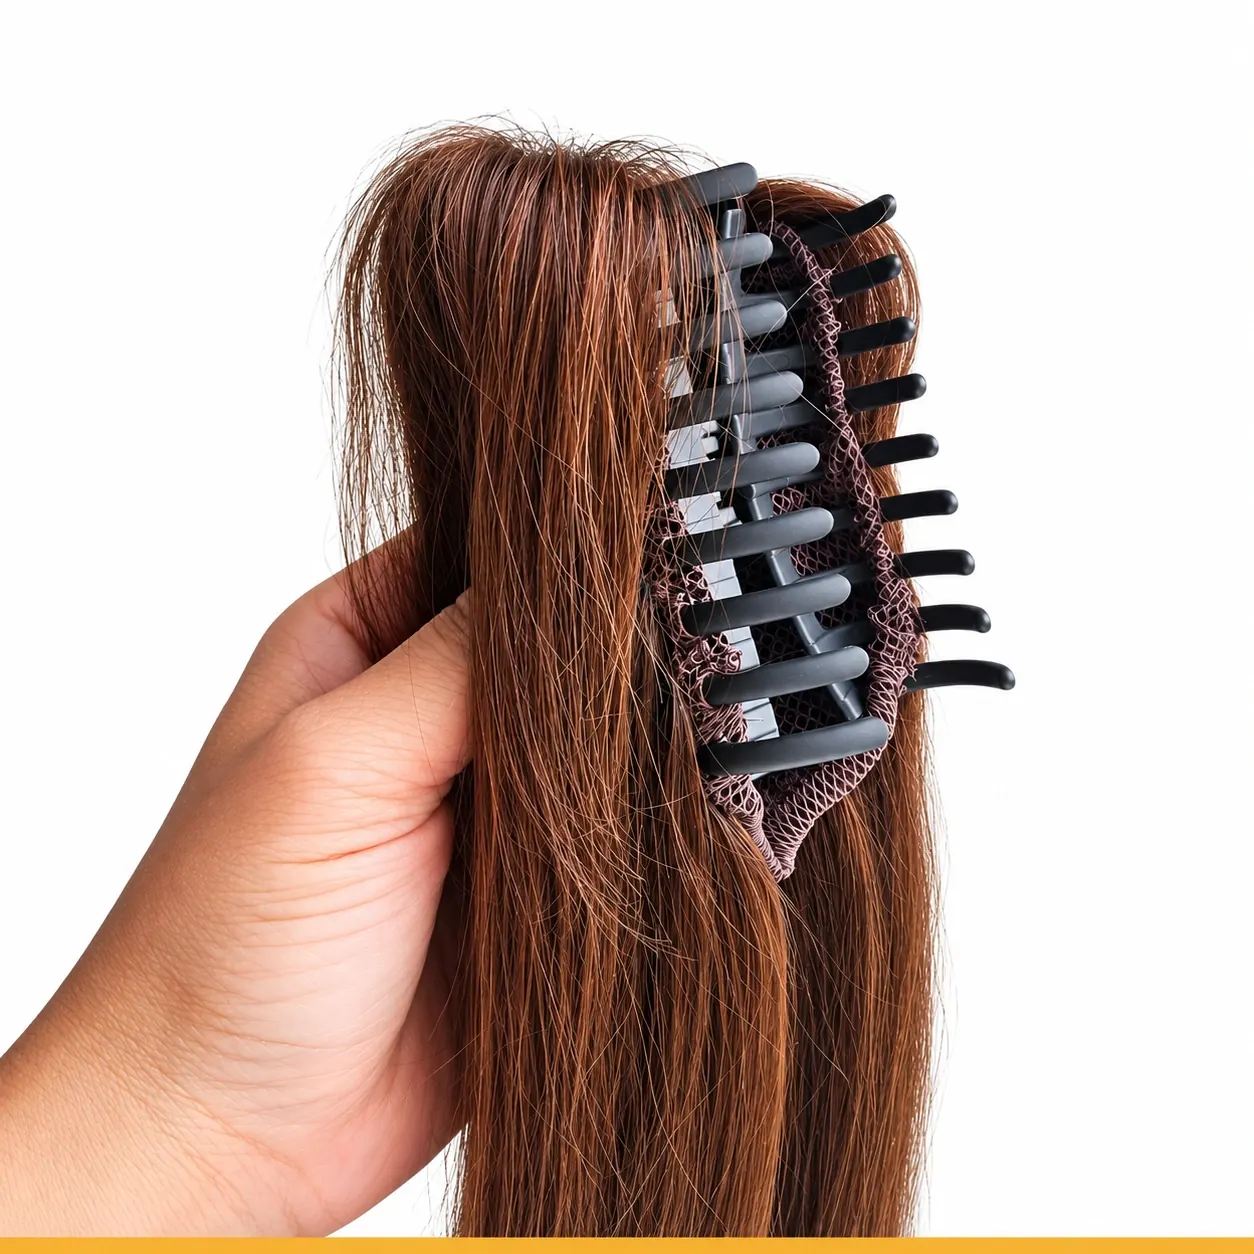
A useful attachment inspection starts with a simple question: what part is meant to hold the hair, and what part holds the accessory to the wearer? Those are different connections. A neat clip can still be poorly sewn to its base, while a tidy seam can carry faulty hardware. Inspect both interfaces, record the exact location of a problem, and agree a correction before approving a larger order.
Identify the attachment components
Use a checklist for the actual construction. For clip-ins, identify each clip, its fixing stitches and the weft underneath. For a halo, map the line and both connectors. For a wrap ponytail, inspect the comb, wrap fastening and covering strand. A bun may instead need an elastic or cinch-opening check. Number the components in an underside photograph so inspection notes can point to a particular part without ambiguity.
Build a model-specific inspection map
Ask the supplier which areas should be checked during routine handling. A component that bends by design should not automatically be described as defective, while an exposed sharp edge deserves a specific observation. Record component dimensions and placement where these affect the approved design. This makes later discussions about substitutions more concrete than comparing only the front product photograph.
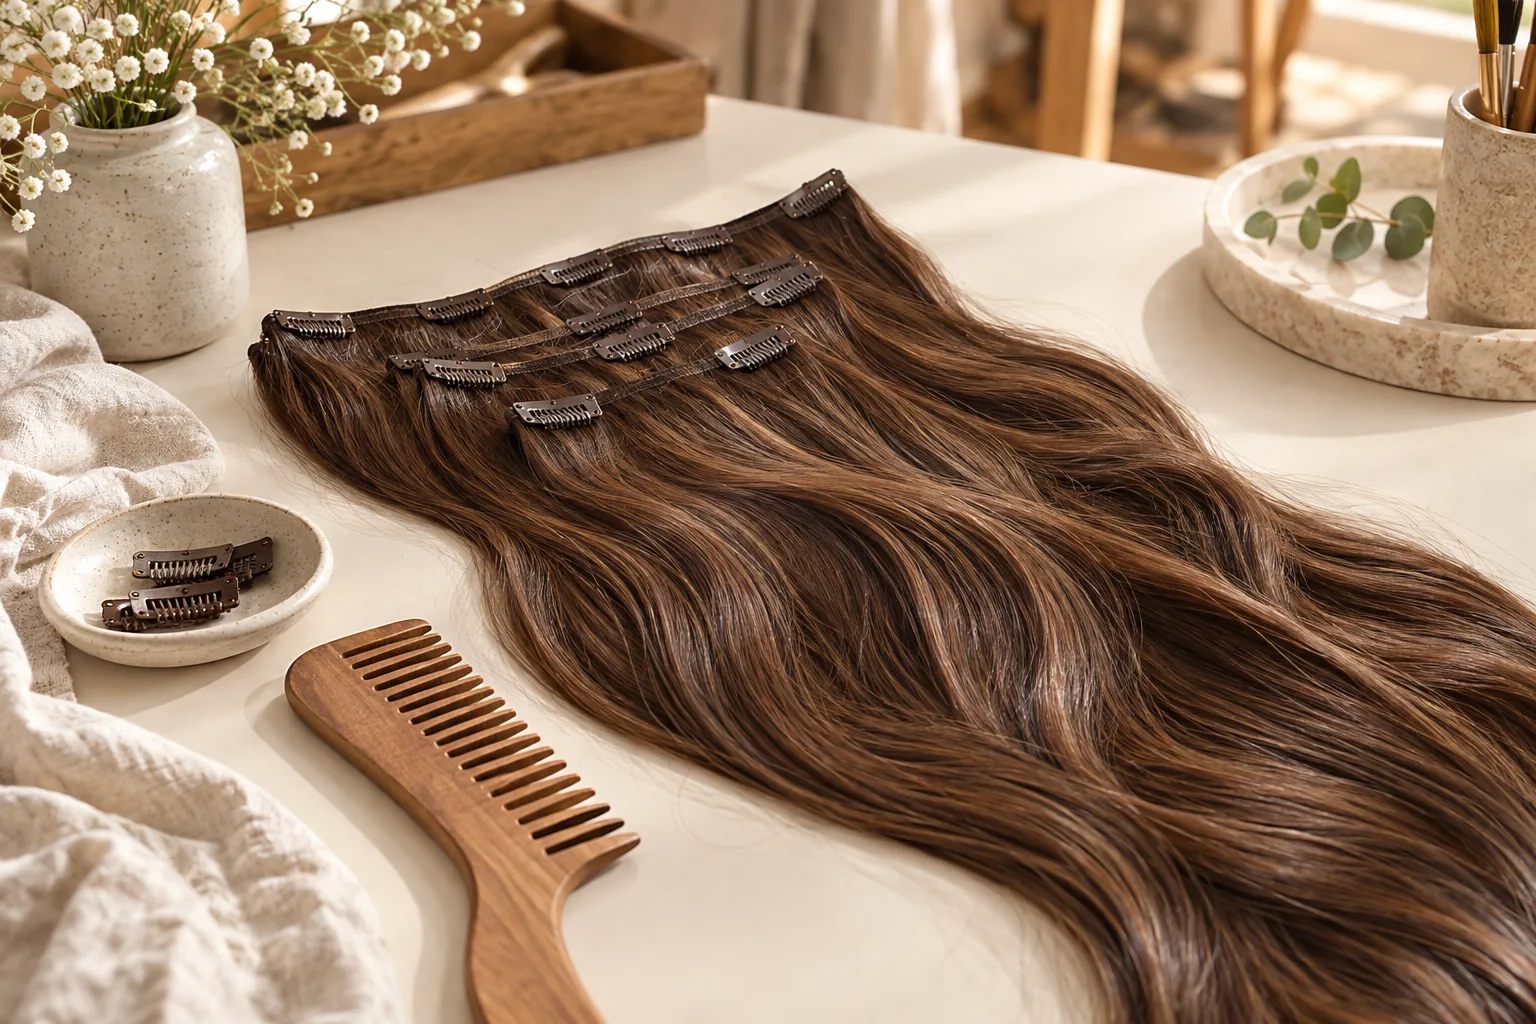
Inspect seams and surrounding material
Look around each connection for loose stitches, frayed supporting material and unfinished edges. Note where the observation occurs and include a close-up photograph. A thread near one clip is a different issue from an uneven seam across the entire base. Specific records help technicians understand the requested correction and allow the buyer to check whether the next sample addresses it.
Observe the whole attachment area
Inspect the way hair lies around the hardware. Check whether normal operation catches loose strands or exposes an unintended area of support material. Avoid pulling hard on the hair or forcing a clip beyond its intended movement. Such actions can create damage that was not present initially and make a supplier’s investigation less useful.
Use a consistent operating check
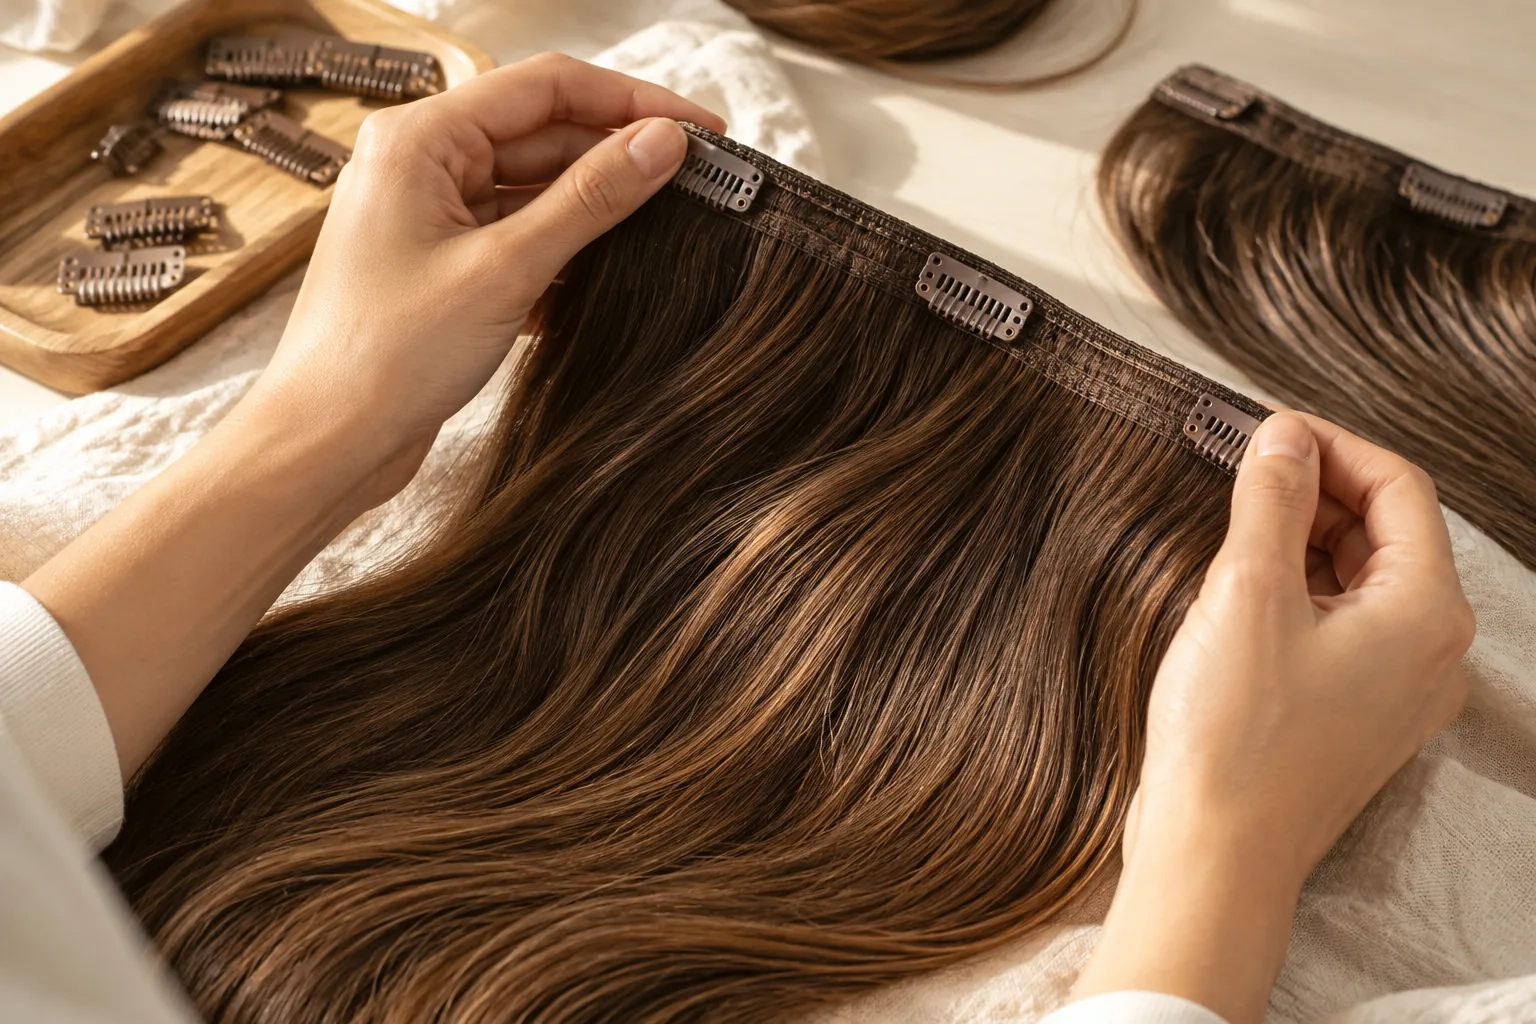
For a clip, check that it opens and closes normally, the teeth have no obvious sharp edge, and surrounding hair is not caught in the mechanism. Check whether its sewing moves independently of the base during ordinary handling. For a line connection, inspect both ends for fraying or a loose fitting. Do not invent a pull-force target: if a strength or cycle test matters, specify its method and acceptance criteria before testing.
Agree formal tests before production
Separate observed facts from conclusions. For example, record that one clip failed to close during the agreed check rather than stating that the entire batch will fail. Keep the sample’s condition and any previous treatment in the report. This distinction supports clear corrective action without turning a limited sample observation into an unsupported claim about all production.
Connect inspection to order approval
Write a defect note that production can act on: model C, piece two, left clip does not close; photograph attached; observed before washing. Then separate the immediate sample correction from the batch inspection plan. One faulty component calls for investigation, but a single hand-checked sample cannot establish a batch defect rate. Agree how many finished pieces will be reviewed and how findings will be reported before shipment.
Retain evidence for future deliveries
For repeat orders, identify which components must remain the same and which substitutions require approval. Preserve underside photographs and the final sample revision. Review the clip-in construction and sample-to-repeat guides for related documentation. A useful attachment checklist measures conformity with the agreed design; it should not promise universal comfort, security or product lifespan based solely on a few manual checks.