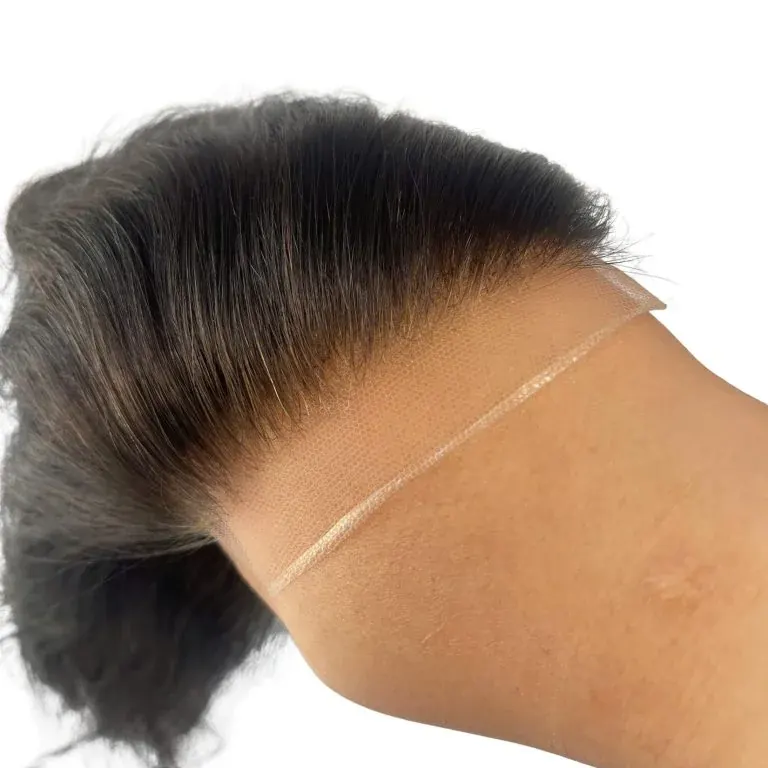
A good bleached-knot sample balances lower knot contrast with consistent colour and sound roots. The lightest-looking photograph is not necessarily the best result. Inspect the treatment boundary, the nearby hair shafts and the behaviour during gentle routine preparation. This is a receiving and sample-approval checklist, not a bleaching recipe: corrective chemical work should be assessed by the manufacturer or an appropriately trained professional.
Prepare comparable inspection views
Request the sample front, a top view with the selected part exposed and an underside view identifying the treatment area. Use a neutral background and ordinary lighting where possible. Keep the hair gently separated rather than saturated with styling products. A close-up should show the knots and nearby hair, not just a blurred overall impression.
Keep lighting and styling consistent
For a before-and-after comparison, use matching camera angles and exposure. A much brighter second image can make untreated attachments appear less conspicuous. Keep the original files if your team needs to examine details. Explain which view is relevant to the wearer’s actual hairstyle, especially if the front will normally be exposed.
Check the treatment boundary
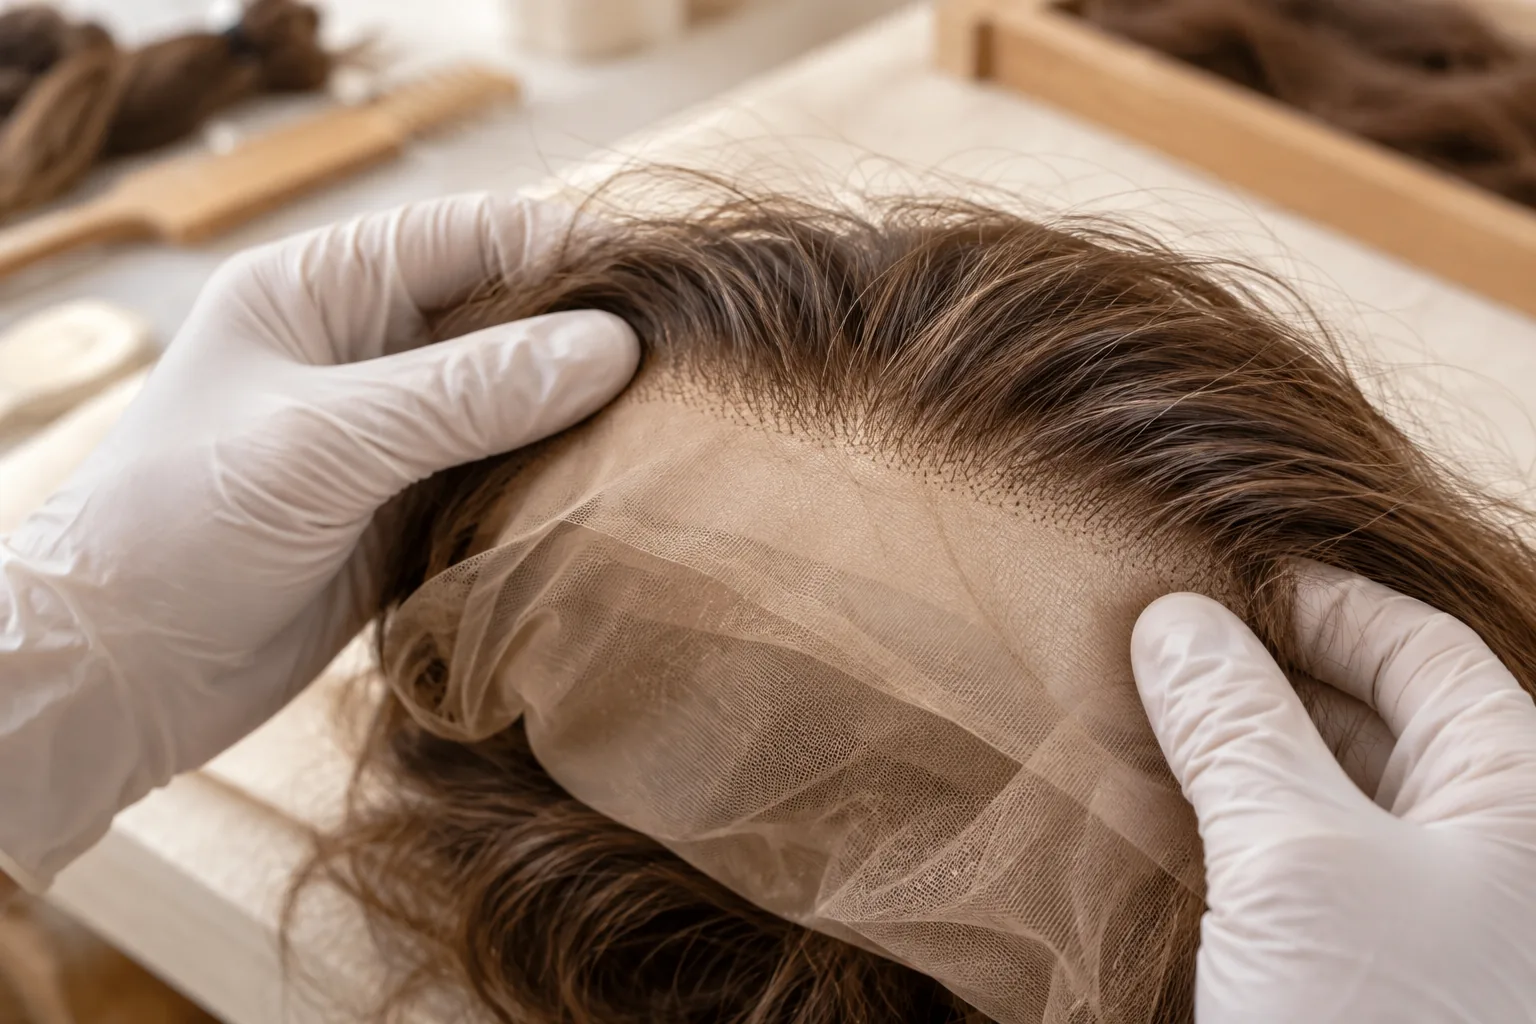
Start with the drawing specifying the front band or parting area. Inspect whether the requested region has been treated consistently and whether the boundary matches the brief. If a dark section remains, identify its position instead of asking for another treatment across the entire base. A local concern needs a local assessment.
Compare it with the approved zone map
Look for unwanted lightened patches above the attachment, uneven warm-coloured roots and a sharp change outside the agreed zone. Note what you can actually see rather than labelling every pale area overbleached. Photograph the same section from above and underneath. Staining, residue, lighting differences and shaft lightening are different observations and may require different explanations.
Assess roots alongside appearance
Chemical treatment changes hair at the processed attachment. Overprocessing can weaken that region, so a lighter-looking knot is not automatically a better result. The acceptable finish depends on hair condition, colour and construction. Ask the manufacturer what appearance can be achieved for the exact configuration without setting an unlimited lightening target.
Avoid judging quality by maximum lightening
During normal gentle combing, note whether released hairs are full length or short broken fragments, and where they appear. Loose finishing hairs can occur initially; persistent local loss or repeated short fragments deserves assessment. Neither observation alone proves a manufacturing cause. Record the handling method, products used and timing so the factory can investigate without a destructive pull test.
Record approval and any corrective work
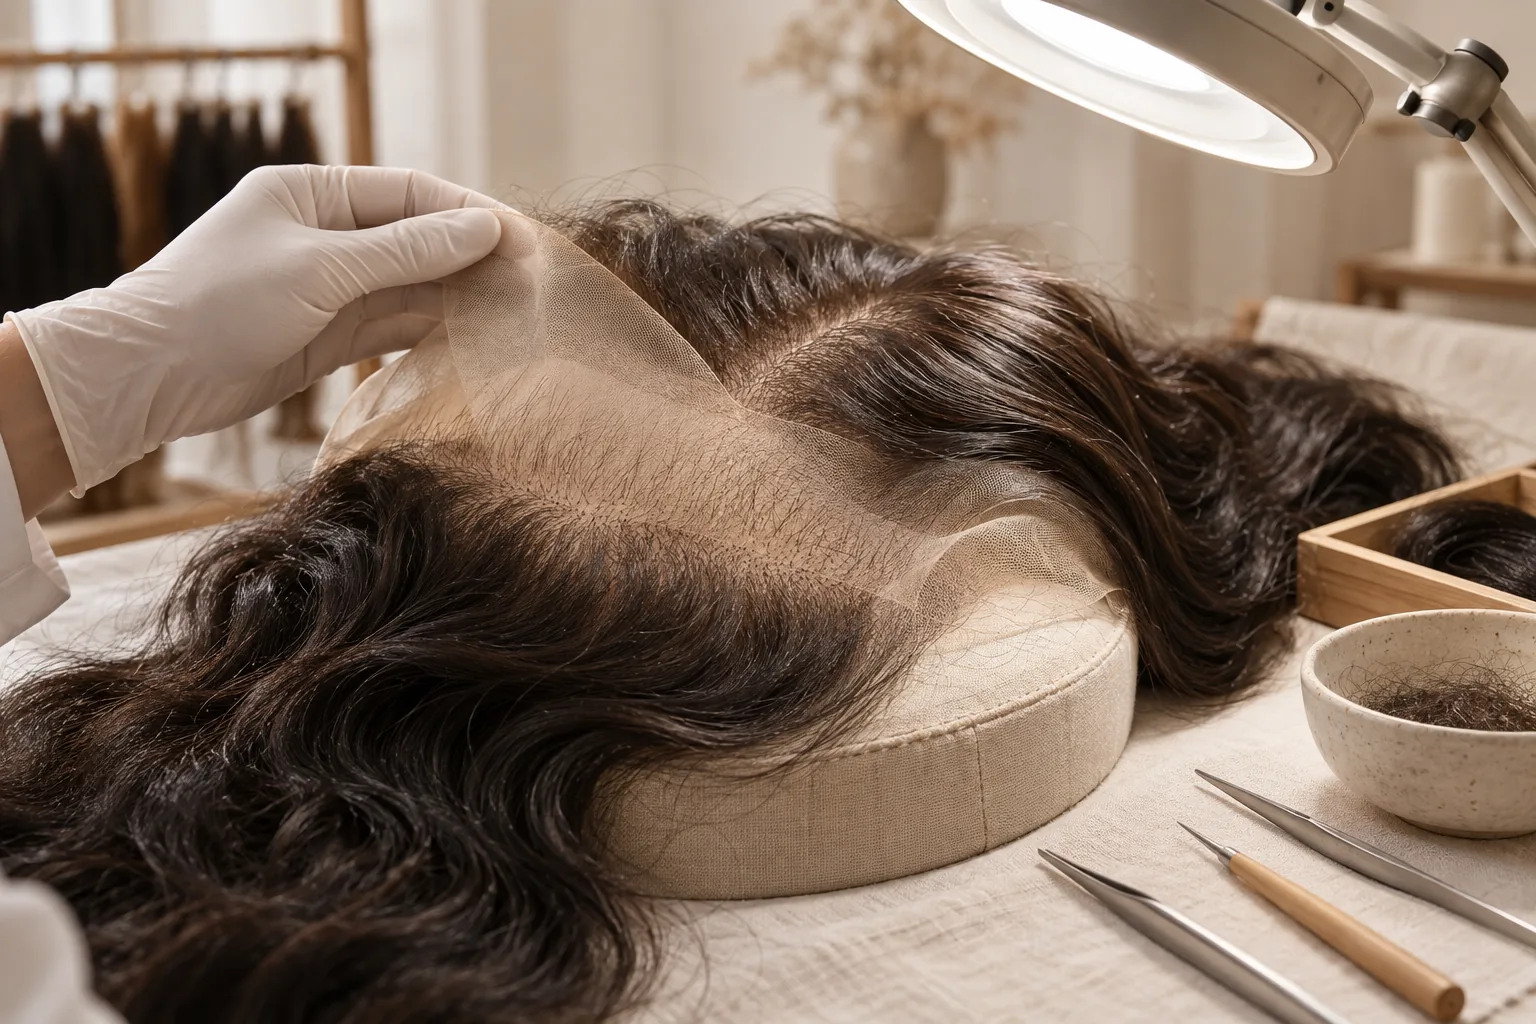
A useful inspection report identifies the product, treatment map, colour specification and views reviewed. State whether the sample is accepted or whether one area needs explanation. Include marked photographs and the intended next action. Avoid approving a larger order while the treatment boundary or an unexpected colour change remains unresolved.
Keep the revised sample as the reference
If corrective processing is proposed, ask what will be changed and how the result will be checked. Record the revised sample’s date and retain photographs after the correction. Repeating treatment without a review can add uncertainty about hair condition and make later comparisons with the original brief more difficult.
Use a simple decision record: accepted, held for clarification or returned for an agreed correction. Attach the order code, marked treatment map and original photographs. If a sample is revised, inspect the same zones again before approving repeats. Keep the rejected and revised records distinct so purchasing does not accidentally use an earlier, unresolved finish as its next production reference.